Mistakes We Made Getting Rid of Everything to Travel (21 Tips!)
18 min readYou can search out loads of information about downsizing or selling everything you own to travel, but it’s not quite the same as doing it! Now that it’s done and still fresh in my mind, I definitely have some great tips for things that we would have done differently, so you can learn from our… Read More »Mistakes We Made Getting Rid of Everything to Travel (21 Tips!)
You can search out loads of information about downsizing or selling everything you own to travel, but it’s not quite the same as doing it!

Now that it’s done and still fresh in my mind, I definitely have some great tips for things that we would have done differently, so you can learn from our mistakes!
1. Set a Timeline…and Add a Couple Weeks to it!
We were so cute thinking that six weeks was plenty of time to get rid of everything! Spoiler Alert: It’s not.
Plan on your downsize taking 8 weeks, and do your best to clear out storage spaces even sooner.
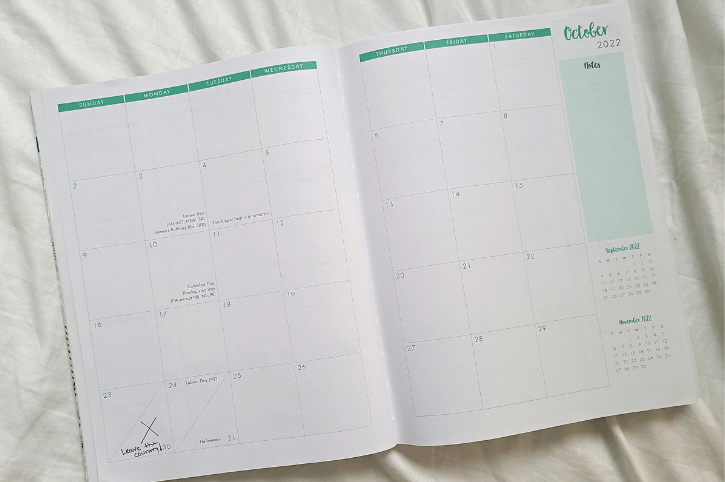
We had the best of intentions to clean out the garage and basement in the months before traveling (We had been planning this for two years) and that would have been a very good idea!
Execution? Zero stars.
However, don’t panic if you already have less time than that. You will just have to be very dedicated with your evenings and weekends.
2. Find Ways to Motivate Yourself When You Don’t Feel Like Sorting
It was hard…like really hard, to work on purging our belongings during every second of free time that we had, for weeks and weeks.
There were plenty of times that we just didn’t feel like it (basically always) and evenings that we gave in and sat around. (Hey, we’re all stupid sometimes, right?)
Saturday mornings we got ourselves out of bed with the promise of a fast food breakfast. Evenings we set the mood with a Starbucks. Often though, I had to rely on the motivation that future me would be grateful for everything that I did that day, and Jason relied on my nagging.
From experience: Relying on your willpower isn’t the best strategy.
I would suggest taking the time now at the beginning stage, to think of some ways that you will treat or trick yourself into sorting and decluttering when you don’t want to.

I won’t lie to you, the majority of the money we made from selling things in the beginning, just went to takeout. It was a good way to say “Fine, I’ll get up and work on this, but I shan’t be making dinner.”
Unfortunately there were fun social things that we had to say no to, and plenty of people we didn’t have a chance to see. Don’t feel bad about that, and prioritize future you, who will no doubt be sweating bullets in the final hours before the move.
3. Choose Your Travel Wardrobe – and Live With it
Choosing our travel wardrobes was a million times easier than I thought it would be! The important thing to remember is that regular everyday you, is the person who will be travelling.
You’re not going to start attending cocktail parties nightly, you won’t be going to formal dances, and you WILL have evenings where you want to sit around in your comfiest ugly shorts.
As I did laundry I simply put aside the clothes that I wear the most*. Immediately it was a small amount of clothes, and I put the rest in a box in the closet. I did this for each person.

Note I said “wear the most” and not “like the most.” There are a couple items that I packed that are not my favorite, but I seem to be in them all the time. They go with everything, or fit the best, etc. It was good to be honest with myself.
From there we had to pair down more to fit in our backpacks, and had to be realistic about choosing the items that went with the most amount of other items. For our daughter, I let her pick her favorites.
For myself, I was glad I kept a box in the closet, because I didn’t feel stuck with what I had chosen. In the end I took only one item back and the rest I gave away.
Plan to do this a month or more before you leave, and wear ONLY the items you have decided to pack.
(In tip #4 you will see why we didn’t do well at that!)
4. Start With Laundry
This is my best tip, and the thing that I would absolutely have done differently. When you are trying to get rid of everything you own, daily chores take a back seat. This meant that laundry was piling up, and we were constantly re-wearing or pulling things out that we were not planning on keeping.
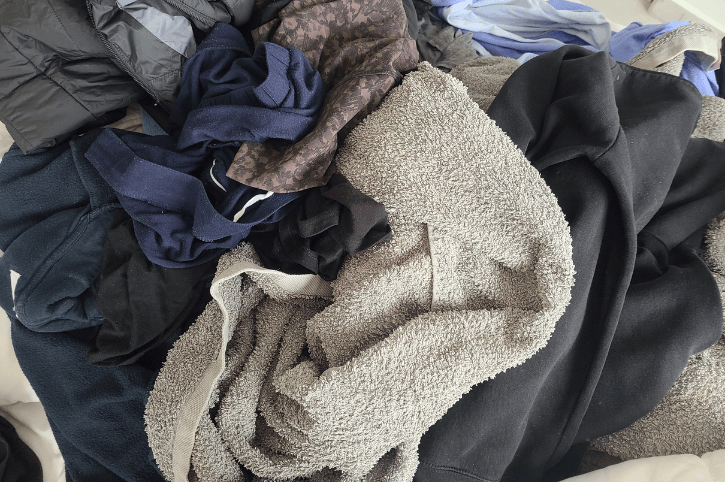
My advice is to keep:
- One blanket and sheet per bed
- One pillow per person (Why did we have so many??)
- One bath towel per person
- Tea towels (use as hand towels too and ditch the rest)
- A few cloths
- The clothes you will pack
- One extra “disposable” outfit for cleaning, painting, yard work, etc.
Think bare-bones airbnb.
You know what we didn’t need? 28 throw blankets, 102 towels that I kept washing over and over, and whatever else was in that hallway laundry pile! I couldn’t fathom what it all was then and I still can’t fathom it now. Close your eyes and put it in the donate bag.
Be absolutely ruthless at this stage. Think of how freeing it will be to have a few small suitcases worth of clothes and a tiny amount of linens.
Yes, you might have to wash a blanket or towel in a jiffy, but what is that compared to washing an entire house full of crap you don’t need?
5. Keep Your Worst Household Items the Longest
Just in case you run out of time, try to keep sheets, blankets, towels, and cloths that can be tossed in the garbage when you’re ready to move.
You could also borrow bedding from a friend or relative, so that you can return it at any time on the final day instead of trying to schedule yet another donation run.
We only kept things to the end that we were okay with posting on Marketplace for free at the last minute.
6. Tackle Storage Spaces
As I already mentioned, we were going to do this months in advance.
JK, we talked about it, and that was it.
After you’ve purged your laundry, grab your flashlights and get into those dark spaces where your unused items go to die.
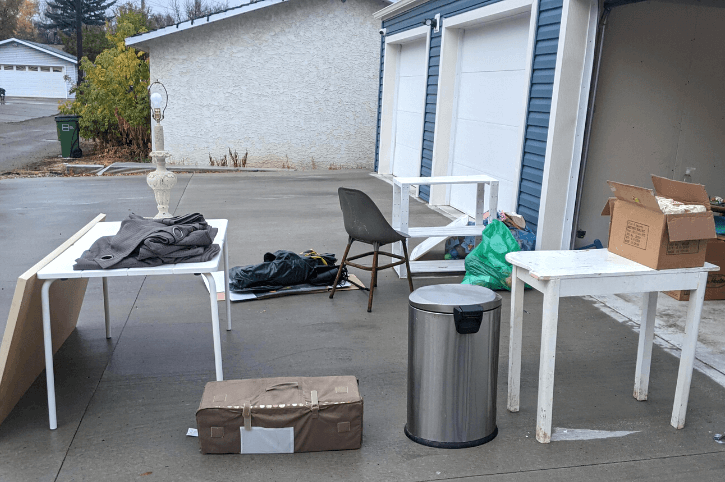
Separate easy things to sell from donation items and garbage. I wish there were tips to make this go faster, but there’s a reason you never went through those boxes, and it’s just a lot of hard work now.
7. Prepare Yourself Emotionally
Maybe you already know you have an emotional attachment to your items, but if you aren’t that person you will probably be surprised by the amount of emotions that get stirred up.
We’ve moved several times in the last 10 years, so I have had time to deal with my emotional attachment to items (more on that in just a minute), but I shed plenty of tears when we were sorting through our lives.
Childhood memories, lost hopes for the future, and remembering when our daughter was small, are all things that hit me like a ton of bricks.
Some of it you will just have to work through as it comes, but I do have a few thoughts that have helped me detach from my sentimental items:
How to Detach Your Emotions from Your Belongings
I used to be super emotionally wrapped up in other people’s feelings, in previous me’s feelings, and in the feelings of inanimate objects, and I have grown sooo much in this area.
Think about why you are hanging onto something, and be honest about it.
I realized that I was attached to most of my “treasures” out of:
- Guilt
- Obligation
This is an emotional attachment for sure, but these are not positive emotions.
Think about why you feel guilty
I was feeling guilty for a few different reasons, most often because:
- Someone bought it for me
- I used to love it
You feel bad because someone bought it for you
People buy you gifts because they care about you and they thought about you. You received the gift, and you received their love and care. You don’t need to hang onto the gift to truly have appreciated it.
Most times the person who gave it to you may not even remember buying it!
If someone really loves you, they didn’t buy you a gift wanting it to one day be a burden that you keep out of guilt or obligation. They want the best for you, and it’s okay to let it go.

Sometimes the person may be someone who would be offended if you got rid of their gift. That’s on them, not on you. It’s still okay to give it away.
You feel bad because you used to love it
Perhaps I’m the only person who feels obligated to hang onto things because I once loved them, or maybe not.
I caught myself feeling bad for little past me quite a lot throughout the decluttering process. I have carried a lot of sad feelings with me from childhood to adulthood, and somehow getting rid of little treasures felt like a betrayal on past me.
It’s hard even now thinking about it.
These are not good feelings. You don’t need to carry these.
I got rid of a lot of things that a sad kid loved and held onto, and now I’m growing and healing and letting go. The objects weren’t in my treasure box because they carried feelings of joy and happiness. Those are the things you should keep.
It’s okay to donate things that might be garbage
I found myself many times between a rock and a hard place because I was ready to let something go, but it might not be something that a thrift store could sell.

It’s okay to donate items and let the thrift store decide. There’s definitely a space in emotional detachment between “I can part with this” and “I can throw this in the trash.”
Honestly, just offload this problem.
I still had a hard time donating treasures when I thought they could be going to the landfill. So I visualized someone finding my item at the second hand store, being delighted, and taking it home to give it a whole new lease on life.
It’s your fantasy. Who cares?
8. Find a Place for Keepsakes
If you are renting a storage locker, then this won’t be much of a problem for you. We decided to pair our belongings down enough that we wouldn’t feel bad asking someone else to store it (three boxes).
Start thinking about who you know that:
- Isn’t likely to move
- Has extra space
- Is trustworthy and reliable if you were to need something
This is the same place that you should plan to store your important documents that you aren’t bringing, like old tax returns, certificates, etc.
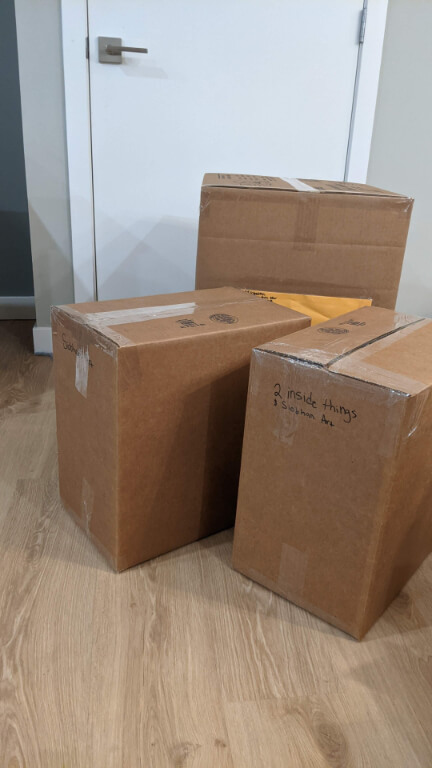
If you are getting a storage locker, it may make sense to rent one in a different city. You need to give someone access in case you need anything, and it should be local to them.
9. Sell as Much as You Can as Early as You Can
In the final week before you leave, you will probably find that you no longer have time to try and sell anything. So the more big items that you sell sooner, will make you the most amount of money.
Don’t procrastinate on selling furniture, electronics, or anything valuable. You don’t want to not sell something on a weekend and realize you need to do a deep discount to get rid of it!
I watched a YouTube video where the couple added all of their friends and family to a WhatsApp group and sold their items that way. We tried something similar with a Facebook group and didn’t have any success at all, so we had to do the tedious work of listing each item on Marketplace.
(Something I really REALLY didn’t want to do.)
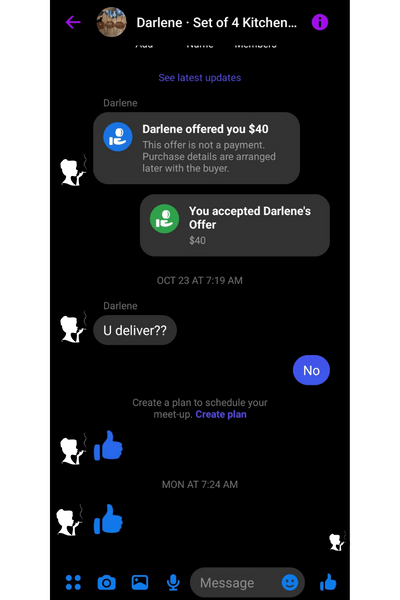
We also had a garage sale and sold almost nothing. Which was a waste of one of our precious 6 weekends. I wouldn’t recommend a garage sale for that reason, because at least with Marketplace you can be doing other things while your items are listed, and not just sitting on your driveway.
We debated not even bothering with Marketplace, because we didn’t have a lot of big ticket items, but in the end I’m glad we did, because we made a couple thousand dollars.

I would not rely on making a lot of money on your stuff in order to fund your trip. Try to think of the money you make selling, as funding the expense of moving.
Some of the other tips here will cost money, and if you don’t have it, this is how you can come up with those funds.
Of course this is harder if you have a lot of valuable possessions. We really did not, which was one of the deciding factors in getting rid of it all to travel. Our furniture was all second hand except for our bed, and we didn’t have expensive clothes, shoes, jewelery, etc.
10. Sell Items Only on Weekends
Designate a spot in your house that you will put sellable items as you come across them. Take pictures as you go and post the items on Thursday or Friday night to sell on the weekend.
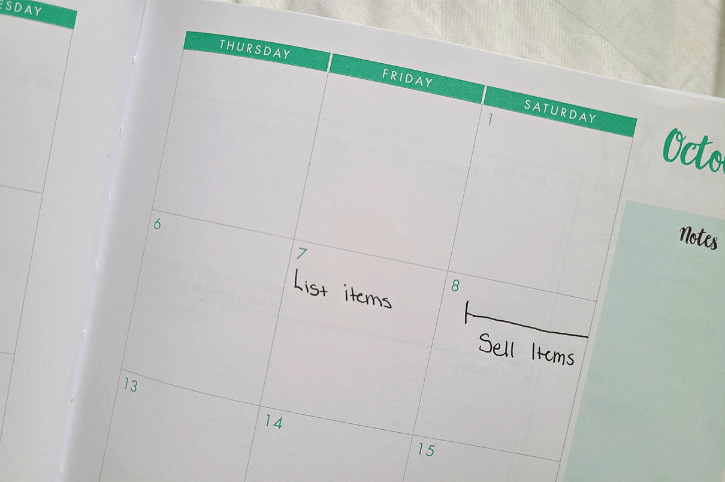
We learned quickly that it is really hard to organize, clean, and declutter, when you have people constantly messaging you or stopping by to pick stuff up. Things sell faster on the weekend, and it’s much easier to do it all at once and plan to be home the whole day.
This will also help you stick to getting rid of things each and every weekend. It also makes it easier to stomach listing things for just $10-$20, because you’re home selling things all weekend anyways.
Remember, 8 weeks is more than likely just 7 full weekends away, so you need to make those count!
At the end of the weekend delete the ads for whatever didn’t sell. You can decide to donate smaller items, and try again next weekend to sell higher value ones.
11. Have Temporary Furniture and Sell the Rest
How do you sell your furniture early? Bring out the camping chairs and deck furniture!
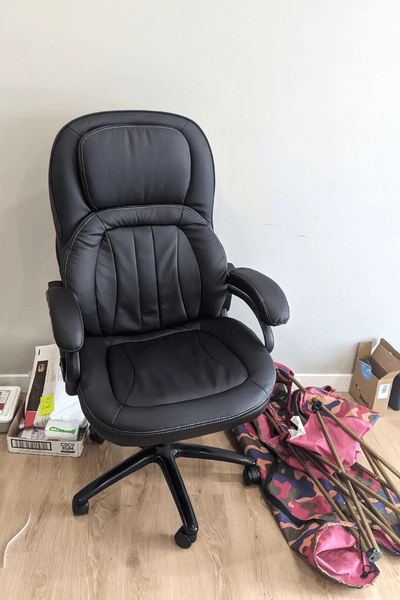
We had a home for our patio set so we could drop it off whenever we were done with it. We kept our cheap Ikea coffee table until the last minute so we had somewhere to eat, and posted it for free at the end.
We sold beds early and only kept the mattresses until the last minute, which we took to the eco center because they were well loved.
12. Let Go of Being Eco-Friendly (Temporarily!)
I hate this tip, but allow me to help you emotionally.
Getting rid of everything you own makes a LOT of garbage. It just does.
There was nowhere in our city to donate used pillows, and there was no recycling center that would take stained, holey, or otherwise ruined clothes. All of that stuff went in the garbage.
I tried to empty and clean every expired or opened jar, can, and bag of food that we were getting rid of, but in the end I had to raise the white flag and throw away some of that stuff too.

Anything that wasn’t suitable to donate but that I would have liked to reuse or find a place to recycle (outside of curbside recycling) also went to the landfill.
It stinks. Try to remember that:
- Certain items aren’t recyclable because other people aren’t even thinking about it, and
- All the re-using and recycling that you’ve done over years of living somewhere is still a lot more than what you are throwing away
It also helped me realize that I never want to go back to having that much stuff.
13. Dealing with Documents: Get to Shredding and Set up Cloud Storage
After you’ve taken care of laundry and storage spaces, start shredding documents that you don’t need. We had every tax return we had EVER filed, so that was a lot of paperwork we could get rid of right there.
A lot of the papers we were keeping were just trash. Receipts for big purchases that we no longer needed, bills we didn’t need, or things that are all online now.
For some paperwork you can take a photo, upload it to cloud storage like Google Drive, and shred the original. For important documents we took a photo and uploaded it before we packed it away.
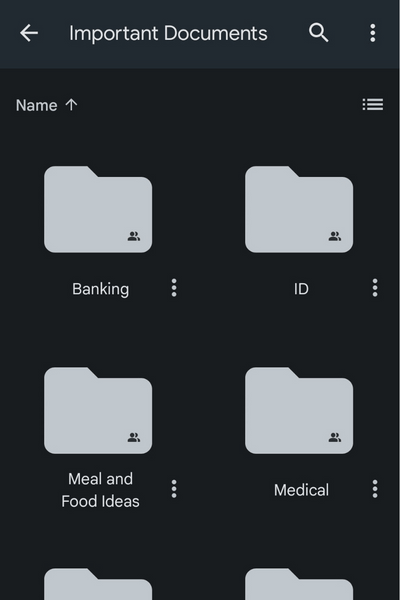
Save and upload copies of your prescriptions or photos of the labels. We were able to get new prescriptions before we left and saved them to our Drive.
14. Set up Your Mail Forwarding Early
This is something we did do early (yay us!) not realizing that it can take up to 10 days to go into effect. You can specify a future date, so this is easily done any time during the month that you leave.
We forwarded to a relative that we wouldn’t mind having open our mail and is ultra reliable. There are also services that will receive your mail and scan it to you, but we aren’t expecting a lot of things that we will need opened.
Our mail is forwarded for one year, and we will try to make absolutely everything paperless before it expires. For banking we will update to a relative’s address to receive new cards etc for us.
(Yes, we should have done that already.)
15. Renew Your Driver’s Licenses
Renew your driver’s licenses even if they don’t need to be renewed, so that you can maintain driving privileges for as long as possible before you need to sort out something else.
16. Don’t Try to Cook Until the Last Day
If you’re getting rid of everything to travel, you probably want to save your pennies.
Why shouldn’t you try to cook until the very last day?
After all, you’ll be living in a holiday rental, why not live in your home like it’s a holiday rental?
Because when you leave a holiday rental, you don’t need to take all of the knives, pots, pans, and trash cans with you. That’s why.
I really tried, but please don’t. Just get rid of your kitchen a week early and thank me later.

If you have good friends or family nearby, you could even cook at their place to save some money. Please don’t stress yourself out like we did. Please.
What we did well was pair down the kitchen drastically weeks before we moved out. The crock pot was useful, but you don’t need your panini press, potato masher, blender, or more than one spatula.
Empty your liquor cabinet, clear out your supplements, and toss expired food.
We also packed up all of our drinking glasses and used jars that we could recycle on the last day. (Those work for hot and cold drinks!)
Our dishes technically belonged to my sister who used to live with us, so we gave those back at the last minute.
17. Donate Extra Food
Maybe this is obvious for other people, but we took what was left in our cupboards to the food bank.
(I didn’t think of it immediately, so that’s why I added it here.)
Opened items like cereal and condiments, or freezer items, we gave to a friend.
18. Hire a Cleaner
Hiring a cleaner for a move out is not a luxury that we’ve ever splurged on before. We’ve never been flush with cash, particularly when moving, which is always expensive.
My Mom actually paid to have our house cleaned so that we wouldn’t have to worry about it, and it was the best thing ever.
We wouldn’t have done it, but now I can say that you should one million percent hire a cleaner.
If you need to, just set aside some of the money that you make from selling everything.
This is NOT just another move, there are a lot of other things going on, and it is incredible stressful. It also forced us to plan well ahead.
We booked the move out inspection for the day before we left the country, and the cleaner for the day before that, so the house need to be empty the day before that.
I would however book the cleaner for two to three days ahead, so that you can take care of anything they missed and so you can:
19. Move Out Early
Our original plan was to stay in our house until the very last day, dispose of our mattress that morning, do our final walk through with the landlord, and leave.
Sounds doable, right?
We ended up needing to rent a van for all of our last minute garbage the day before we moved out, so we decided to take the mattress at the same time and get a hotel room.
We were still in the house cleaning until midnight that day, AND had a few items left to take away the morning we were leaving.
Jason and I agreed that if we were to do it over, we would have gotten a hotel for two to three nights before we left, because then the house could have been truly empty more in advance.

We had also packed individual bags ahead of time to check space, but never absolutely everything all at once. Going to the hotel required that we pack up literally EVERYTHING we were bringing, and do a trial run.
We realized that we still had more stuff than we wanted to, and were pairing items down and repacking until the hour before we went to the airport.
All of that last minute chaos could have been avoided had we even taken one more night in the hotel.
What we did do well was plan our flights from a neighbouring city, so we left our house and town, but still had one more night in the country. We were able to take care of a couple more little things before we were really gone.
We also chose flights at the end of the month, so we didn’t have to move out of our house and find somewhere else to stay.
20. Sort Out Your Phone Plans Early
There are many MANY things in life that require two-step verification. For that reason, you may want to try and keep your existing phone number.
You will need to port your phone number to a new service and you should try to do that at least a couple weeks ahead of time to make sure that everything works properly.
Let’s just say that we made some mistakes here, and one month into travelling we were still locked out of accounts and trying to get our phone number onto a new service.
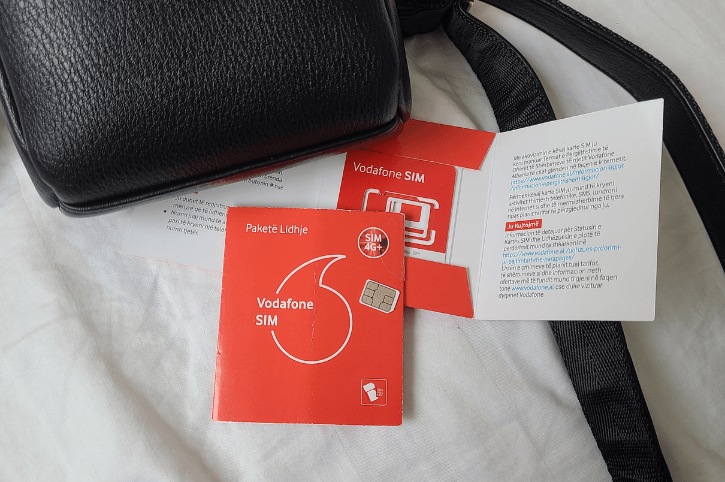
Google FI is a service that Americans can port their phone numbers to, and use their phones as usual basically anywhere in the world. No need to mess around with SIM cards.
It will unfortunately cut off your service if you are out of the country for more than a few months, but it’s a good (if more expensive) short term solution.
Skype also allows Americans (maybe other countries too, but not Canada) to port their existing phone numbers and use a plan for a low monthly rate. This will work like regular Skype, so you will still need a SIM card and data plan in the country you are in. (Which is easy to do.)
It’s a desert out here for Canadians, but we were finally able to port our phone numbers to Open Phone. It works just like the Skype service.
No “VoIP” service (internet phone) is 100% reliable when it comes to receiving two step verification codes. Fortunately receiving a code via call is often an option and sometimes works better than SMS. Worst case scenario will still have you calling customer service lines and figuring it out as you go.
The world isn’t built for people with no fixed address.
21. There Will be Things Left to the Last Minute
This is the reality of getting rid of absolutely everything you own to travel: There will be a last minute scramble.
Hopefully all these other tips help combat that as much as possible, but try to remain calm and deal with things as they come.
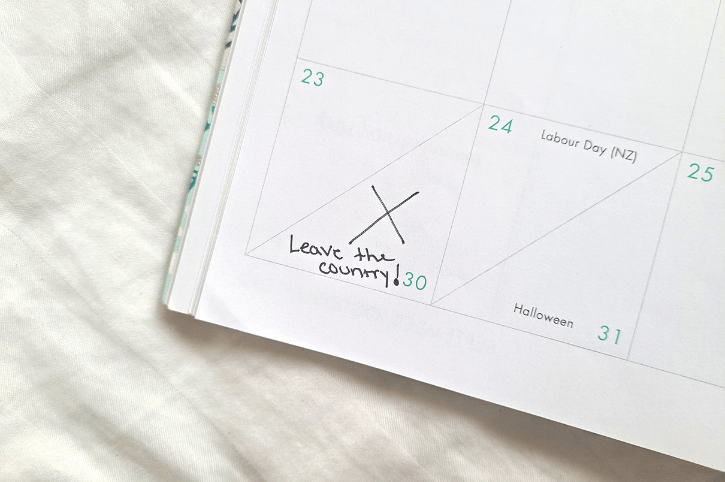
Get Gone!
If you take nothing else from this post, here are a few things that you should NOT do to save money:
- Cook at home until the last minute
- Live in your house until the last minute
- Clean the house yourself at the last minute
You should also go through your laundry ASAP…like yesterday.
That’s it! All you need is your passport and a few cards, so remember that if you are panicking about forgetting anything.
I hope this post gave you some helpful information that I wasn’t able to find when we were getting rid of everything we owned to travel.
At the end of the day the experience is very freeing. It’s amazing to not have to care about any of your belongings, and just get rid of it all to start over.
In fact I still feel like we have a lot with just our three carry-on bags!
Check out these other fun posts:


